# iOS 手動安裝第三方庫 Objective-C to Swift
記錄一次使用 TimOliver/TOCropViewController (opens new window), 手動安裝Swift Projet
一開始新建一個Project

下載 TimOliver/TOCropViewController (opens new window)
git clone https://github.com/TimOliver/TOCropViewController.git
目錄大概是這樣
.
├── Images
│   └── Donators
├── Objective-C
│   ├── TOCropViewController
│   │   ├── Categories
│   │   ├── Constants
│   │   ├── Models
│   │   ├── Resources
│   │   │   ├── ...
│   │   ├── Supporting
│   │   └── Views
│   ├── TOCropViewControllerExample
│   │   ├── ...
│   ├── TOCropViewControllerExample-Extension
│   └── TOCropViewControllerTests
├── Swift
│   ├── CropViewController
│   └── CropViewControllerExample
│       ├── Assets.xcassets
│       │   └── AppIcon.appiconset
│       └── Base.lproj
├── TOCropViewControllerExample.xcodeproj
│   ├── project.xcworkspace
│   │   └── xcshareddata
│   └── xcshareddata
│       └── xcschemes
├── buildkite
└── fastlane
根據作者的README (opens new window), swift project需要同時使用Objective-C/TOCropViewController和Swift/CropViewController
All of the necessary source and resource files for
TOCropViewControllerare inObjective-C/TOCropViewController, and all of the necessary Swift files are inSwift/CropViewController.For Objective-C projects, copy just the
TOCropViewControllerdirectory to your Xcode project. For Swift projects, copy bothTOCropViewControllerandCropViewControllerto your project.
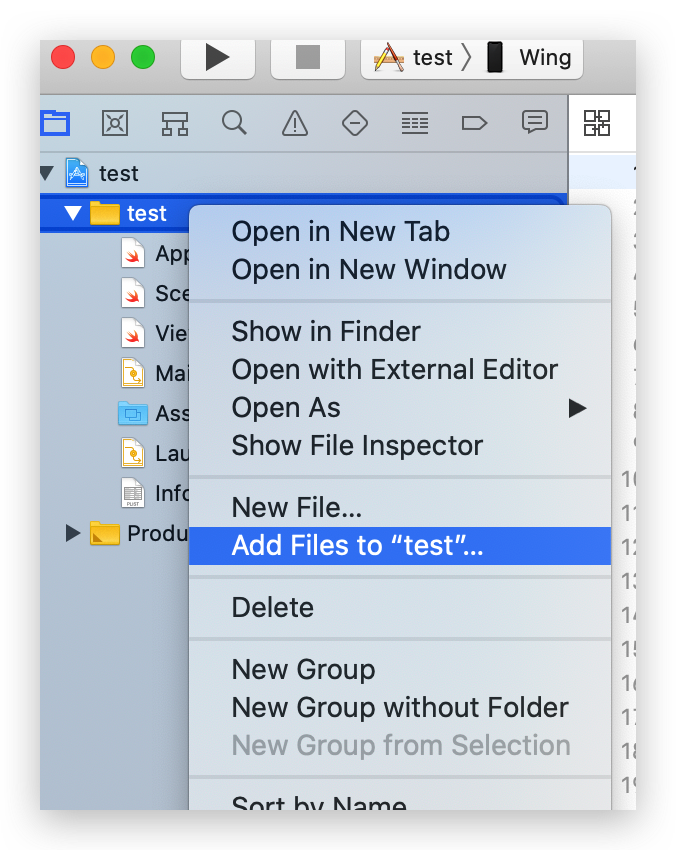
在剛剛新建的Project 點擊 Add Files to "xxx"...
先選擇TOCropViewController/Objective-C/TOCropViewController, 記得點擊Create groups
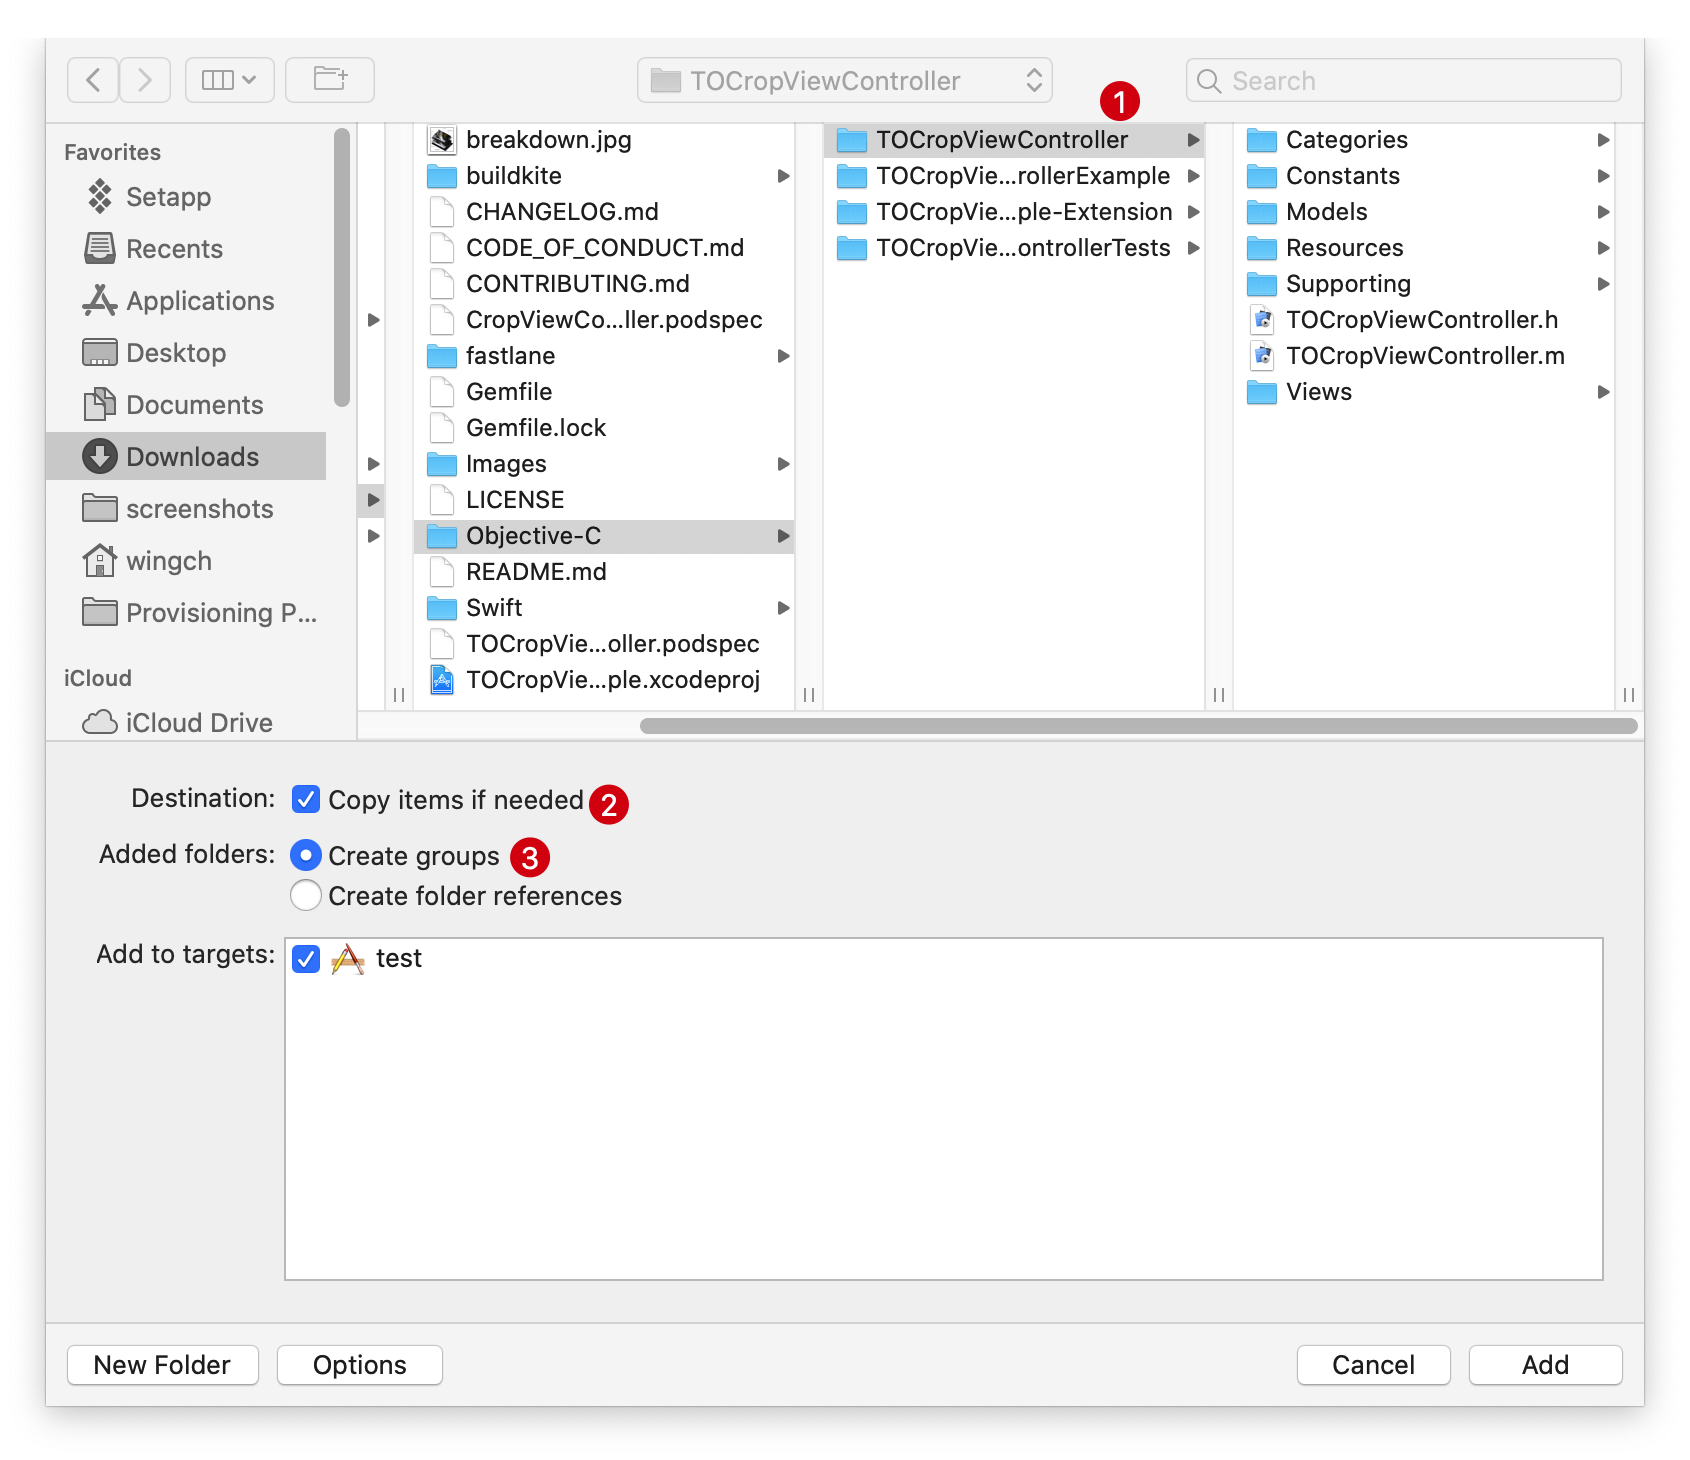
可以看到剛點加入的檔䅁會黃色,如果選了Create folder references會顯示藍色

再將TOCropViewController/Swift/CropViewController的檔案加入TOCropViewController
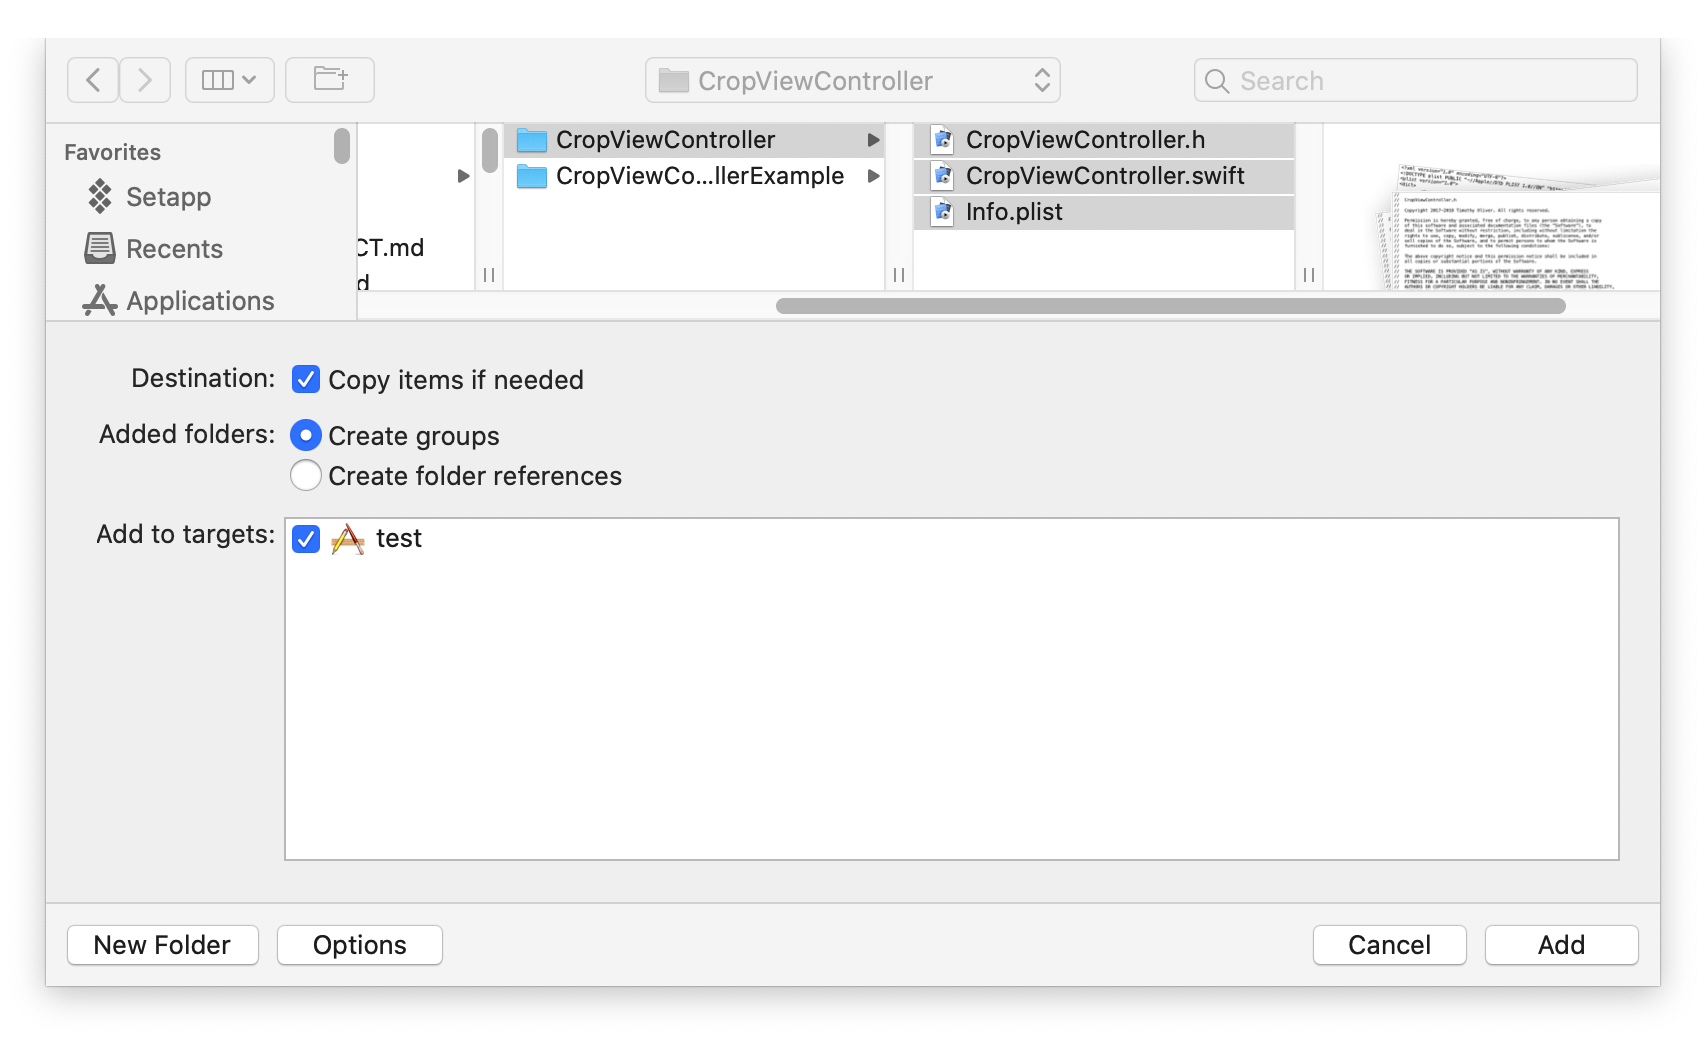
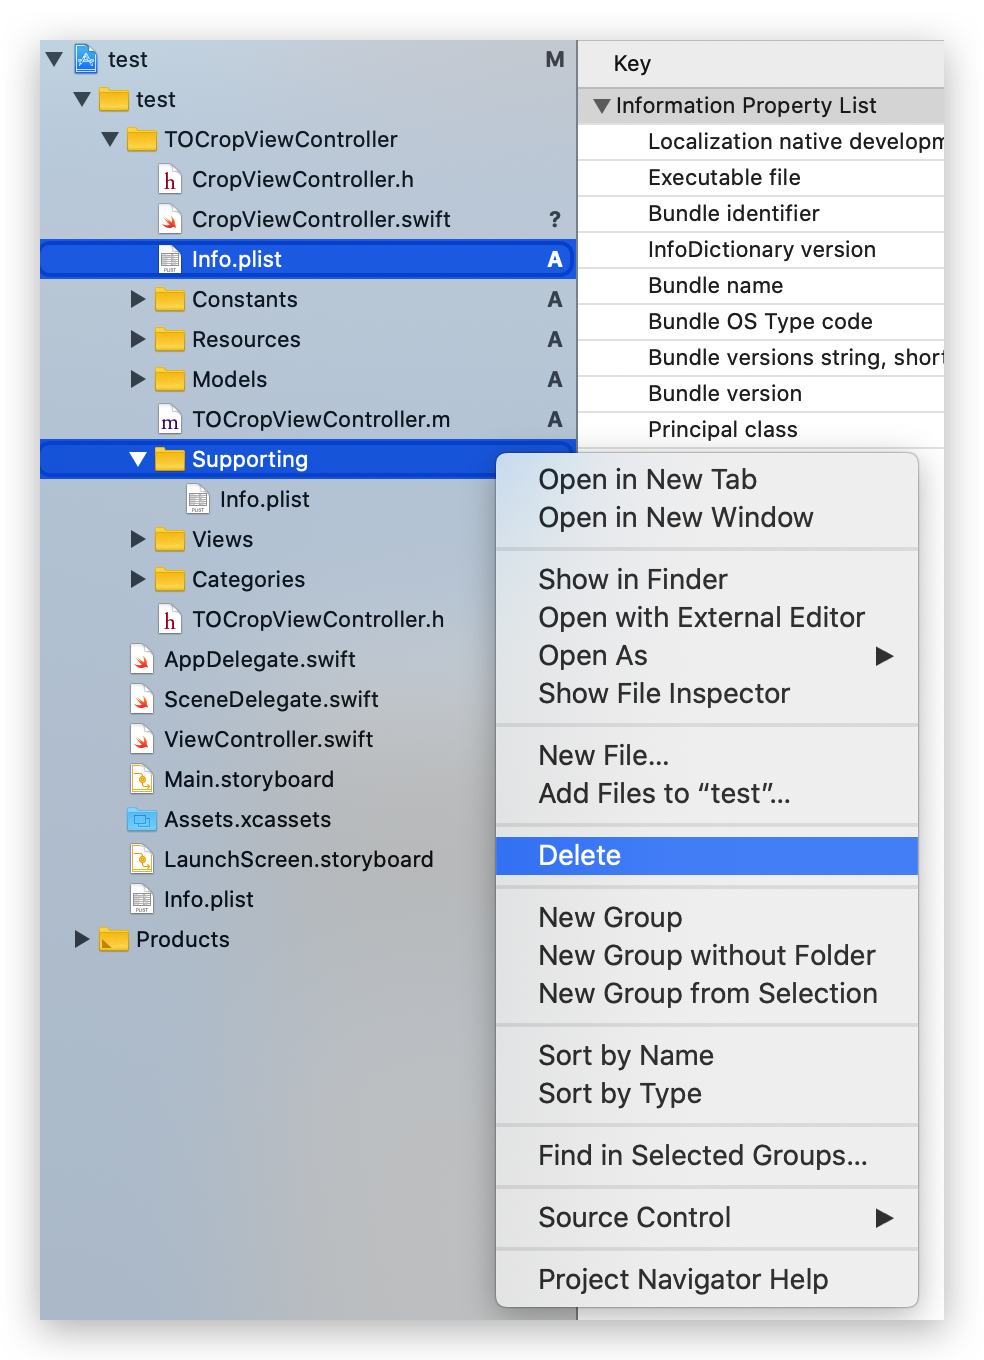
注意⚠️: 要把info.plist刪除,否則會有錯誤
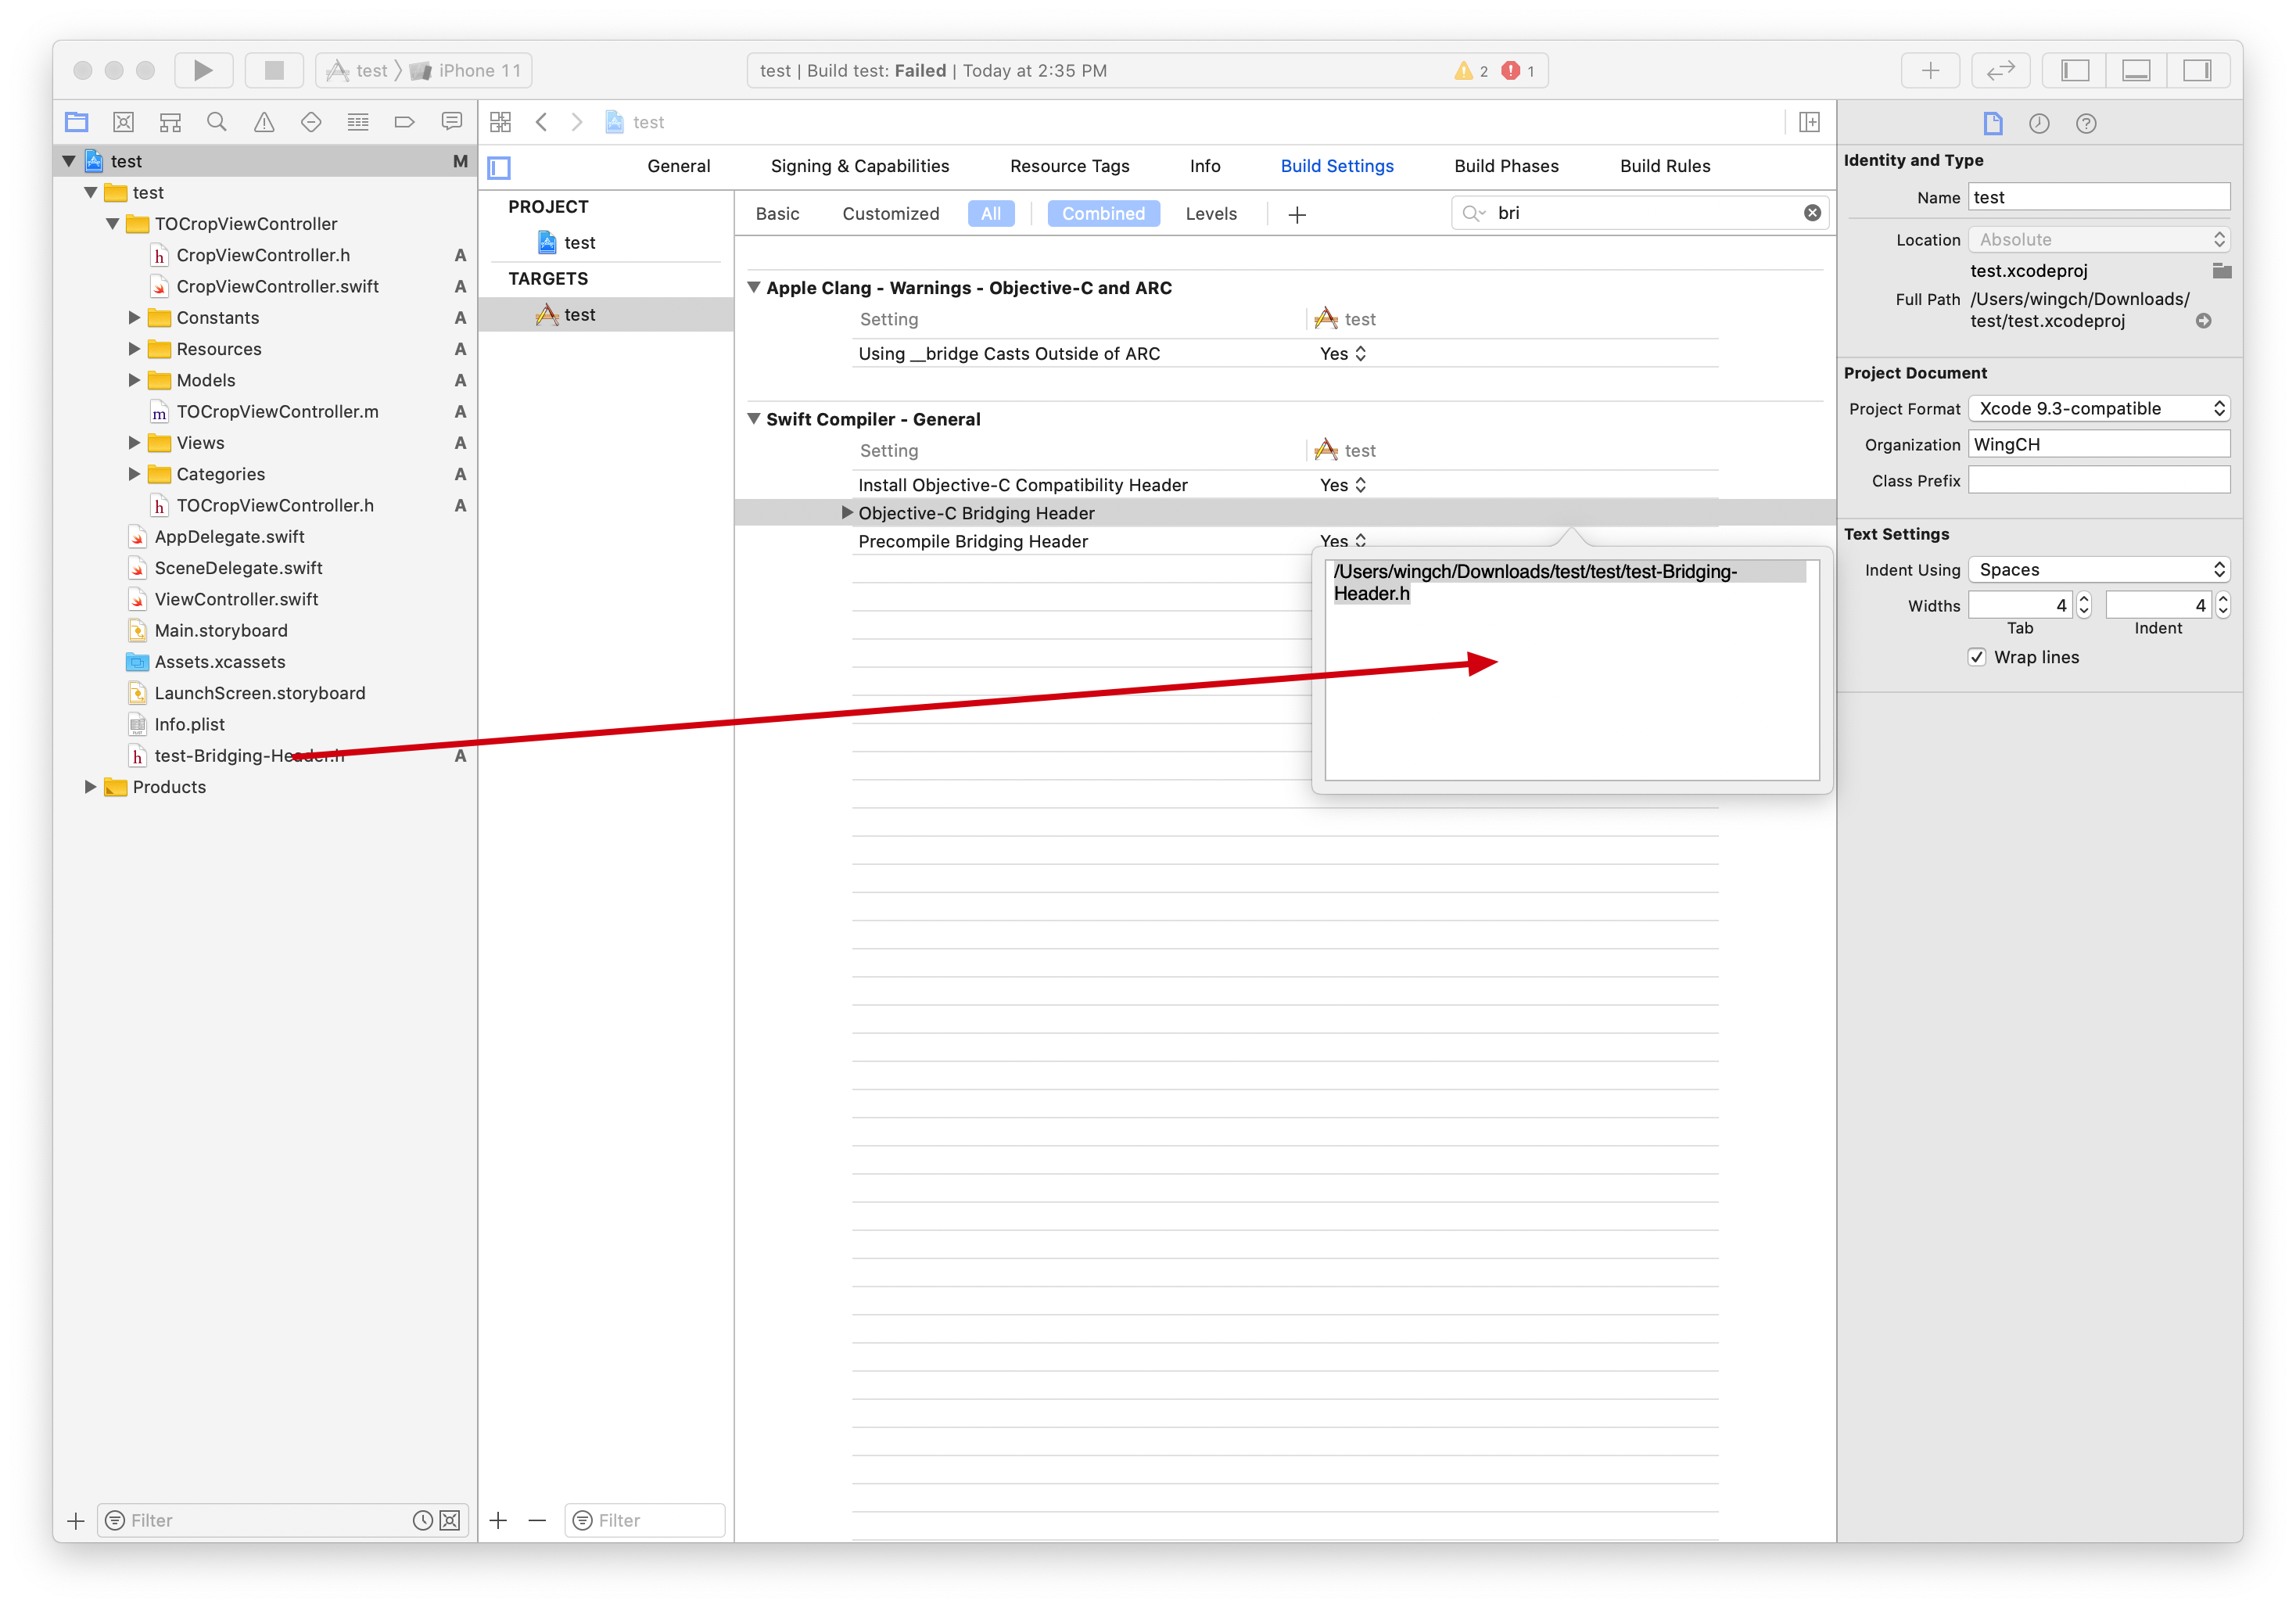
接下來是關鍵的一步建立{project name}-Bridging-Header.h
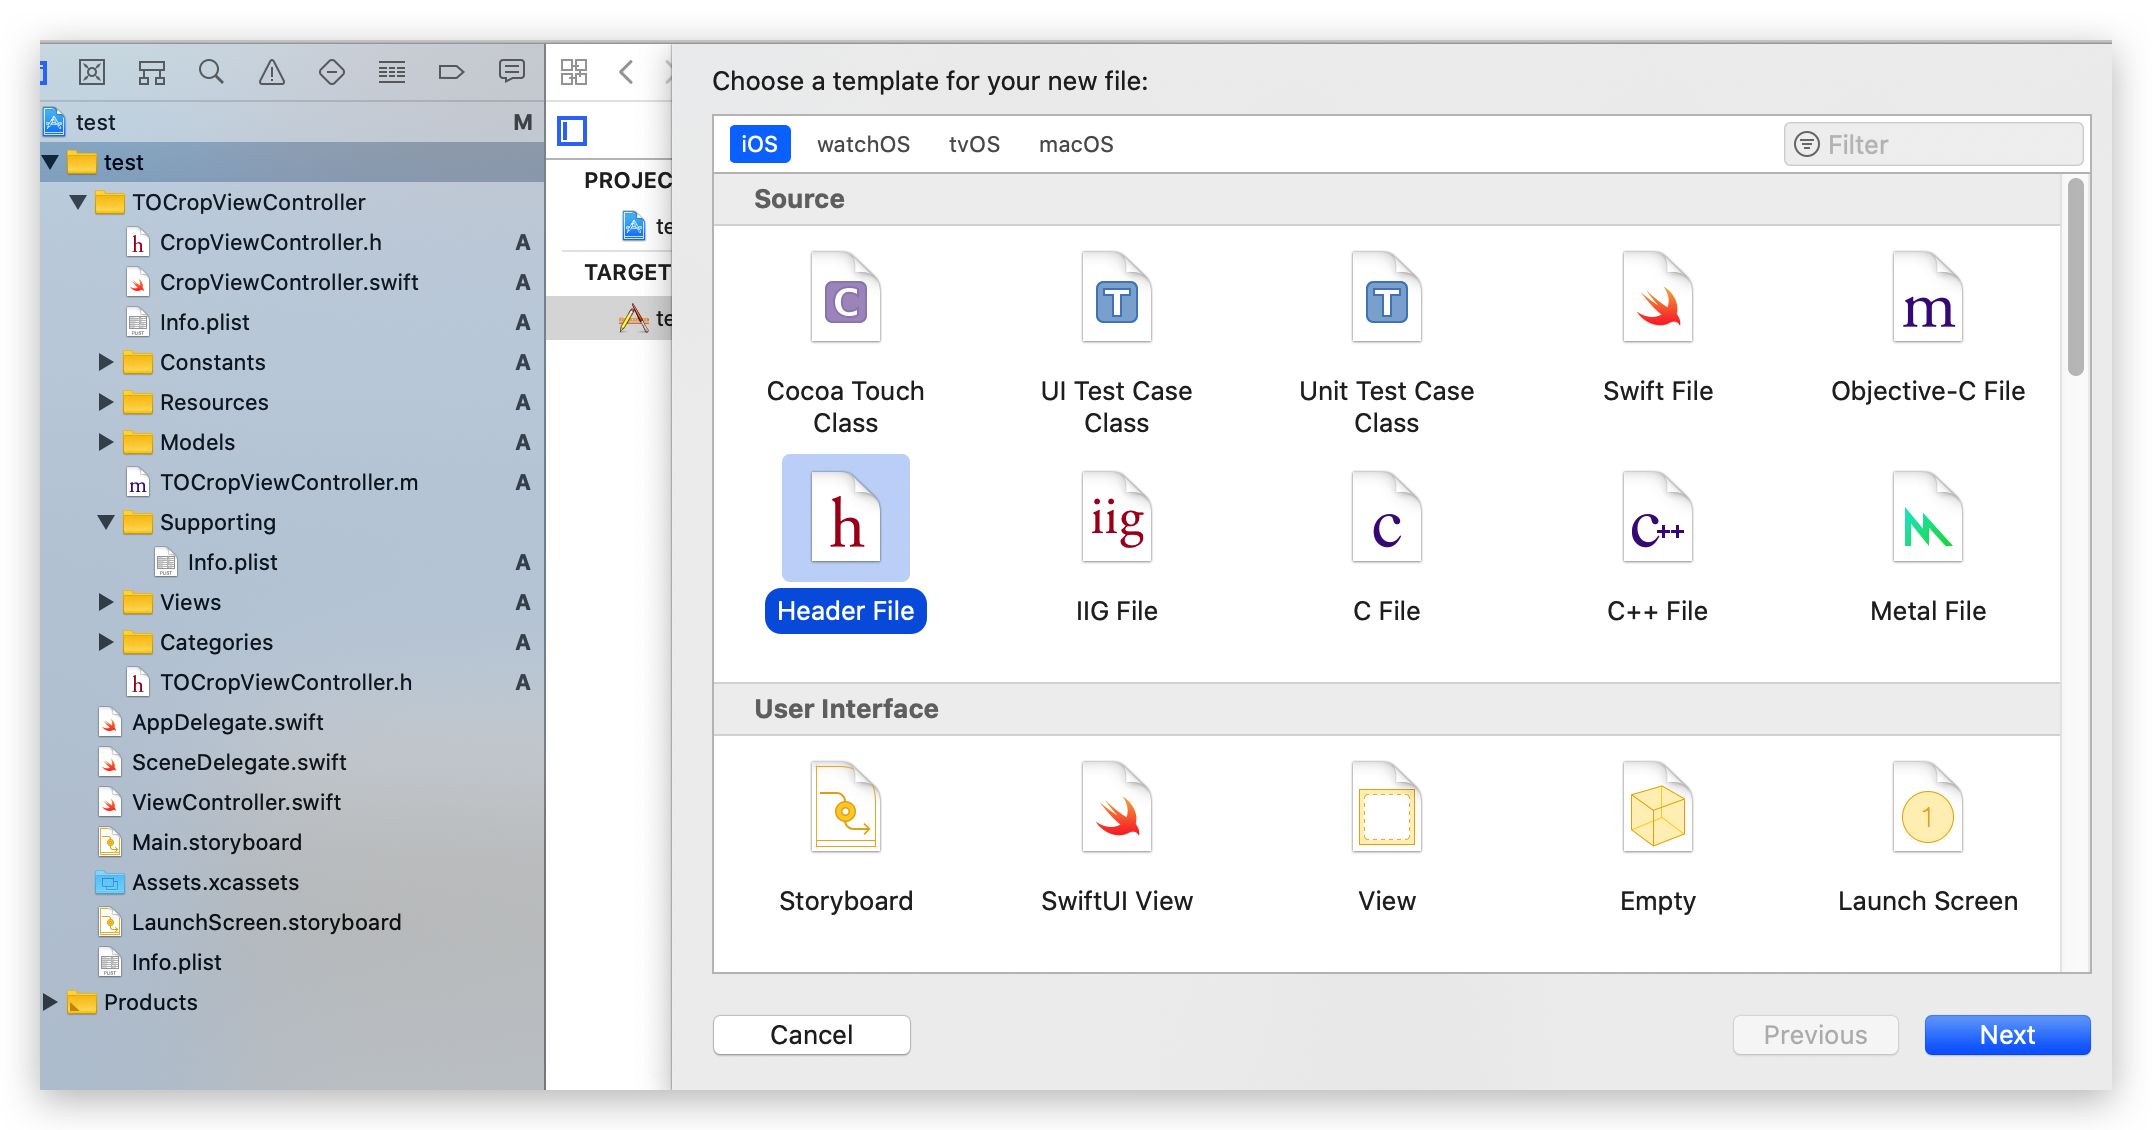
//{project name}-Bridging-Header.h
#import "TOCropViewController.h" // add
要在設定加入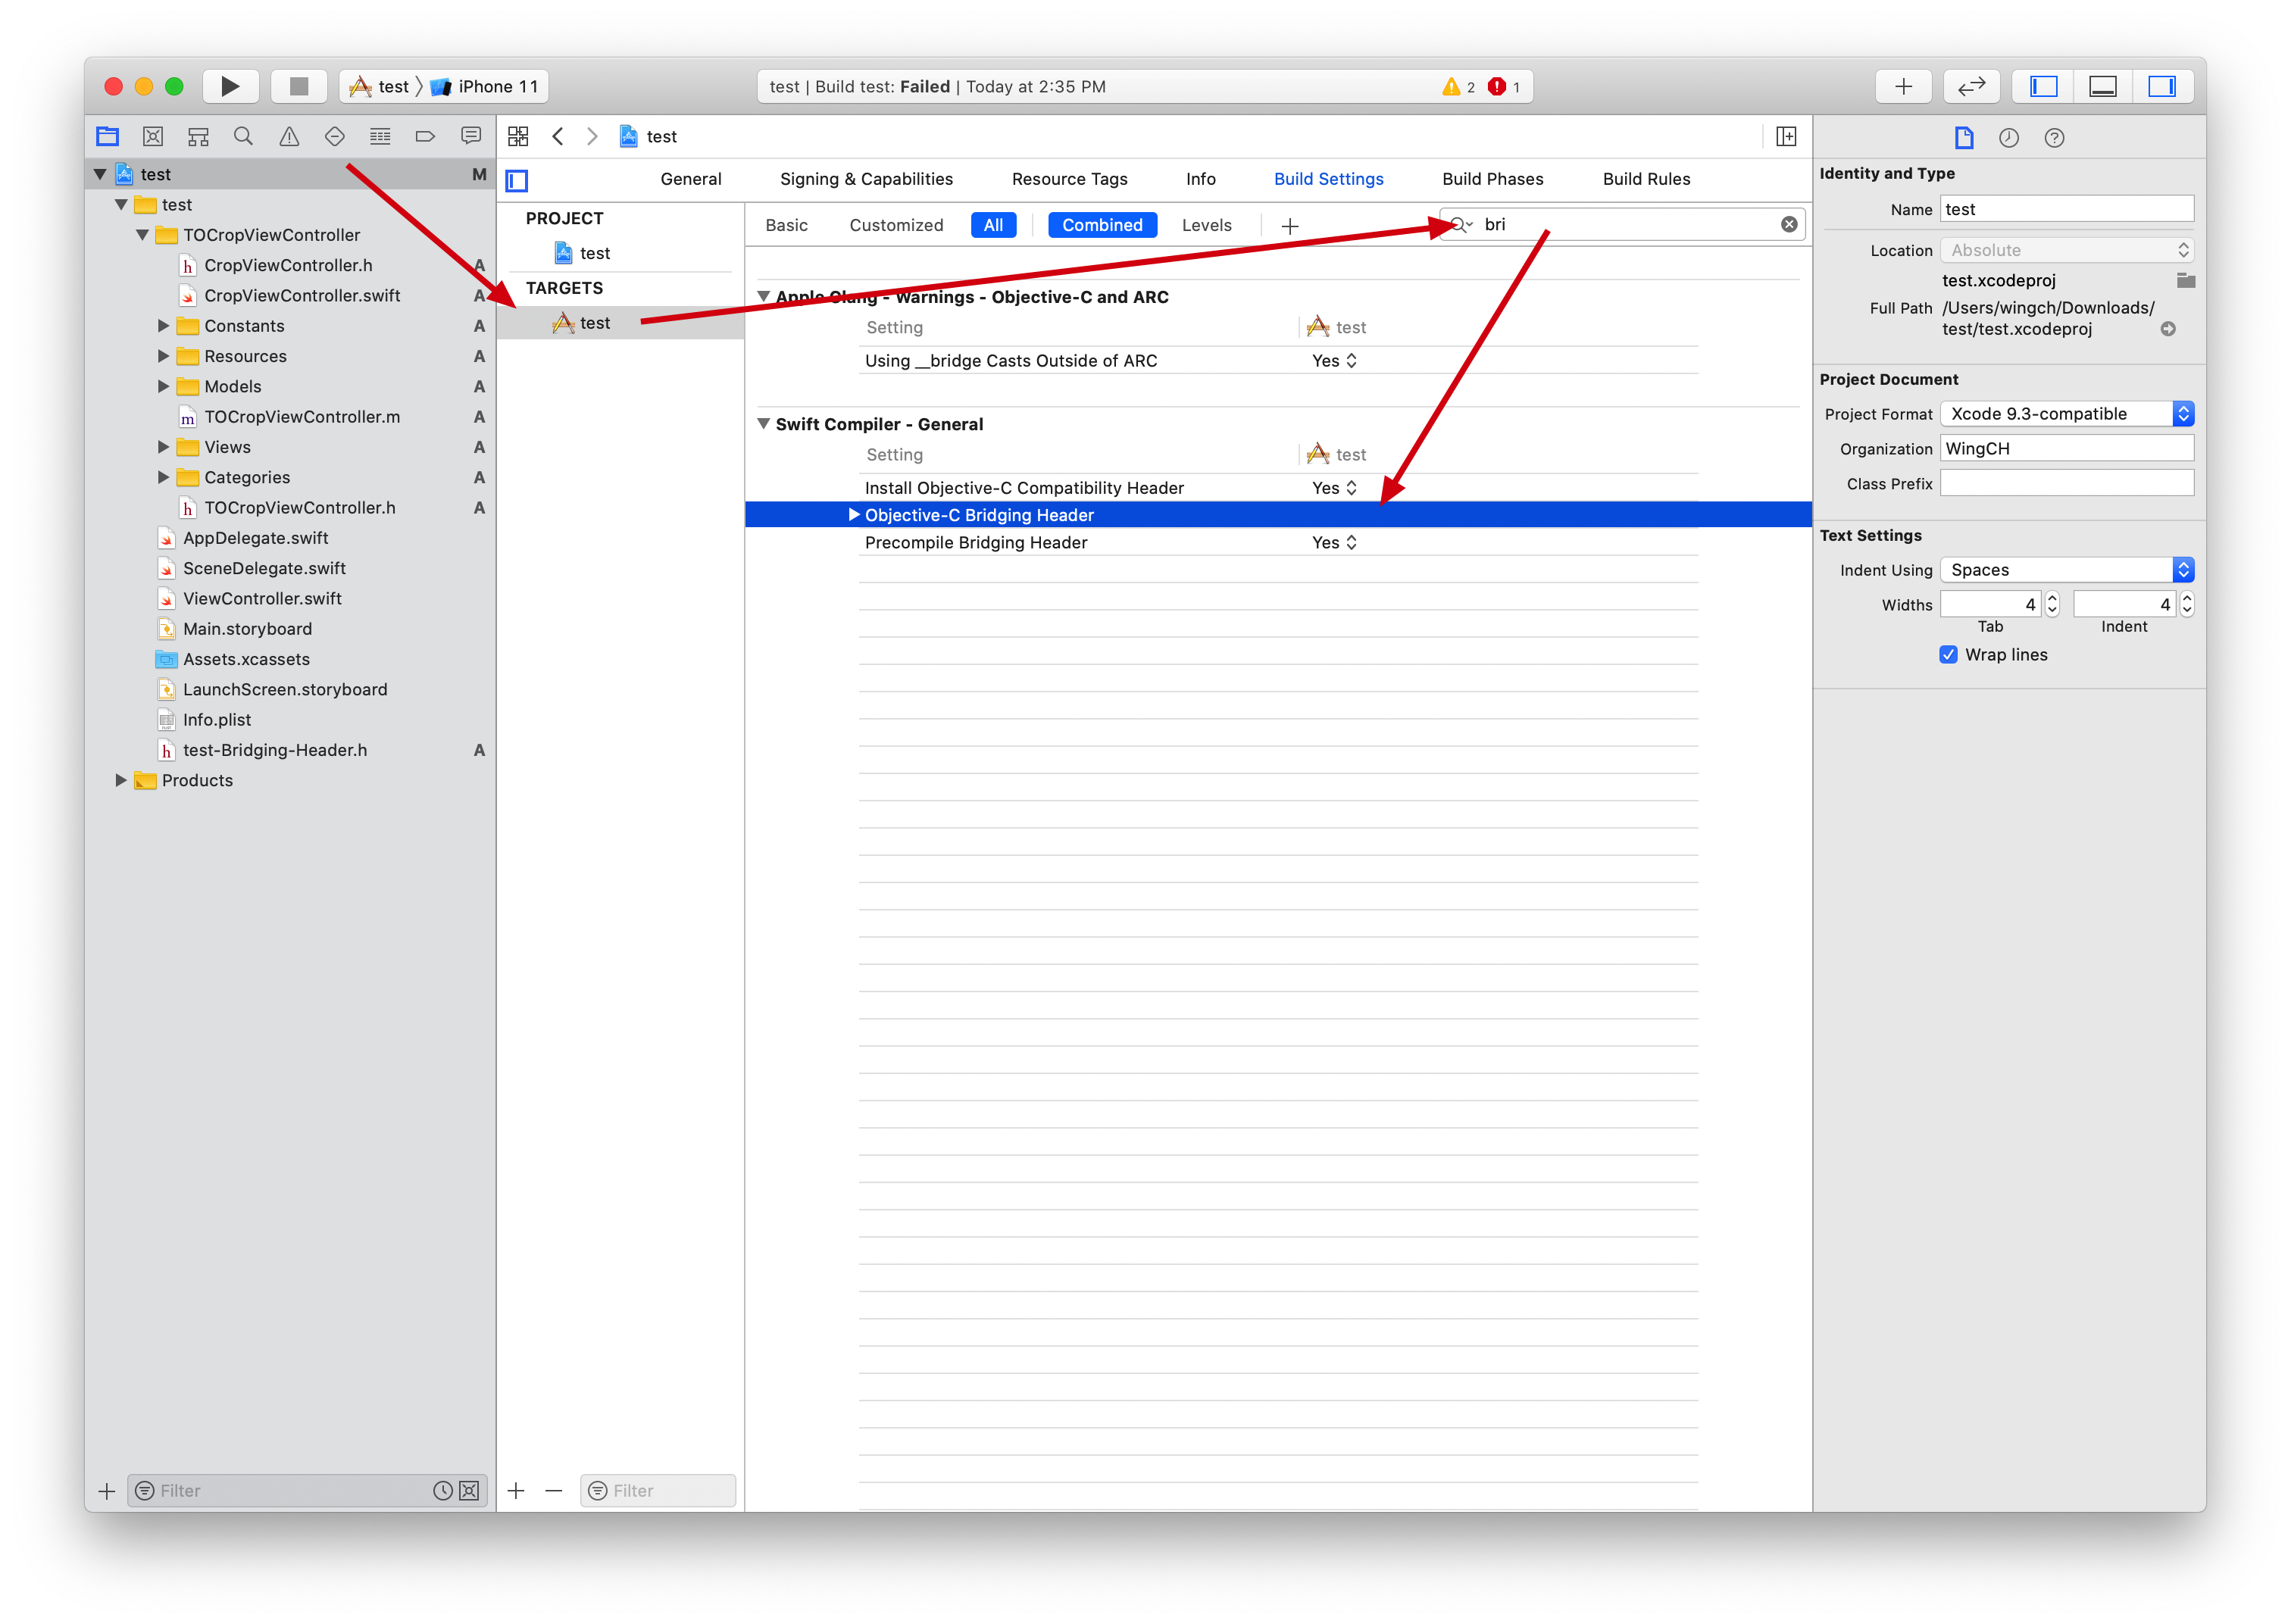
# 測試
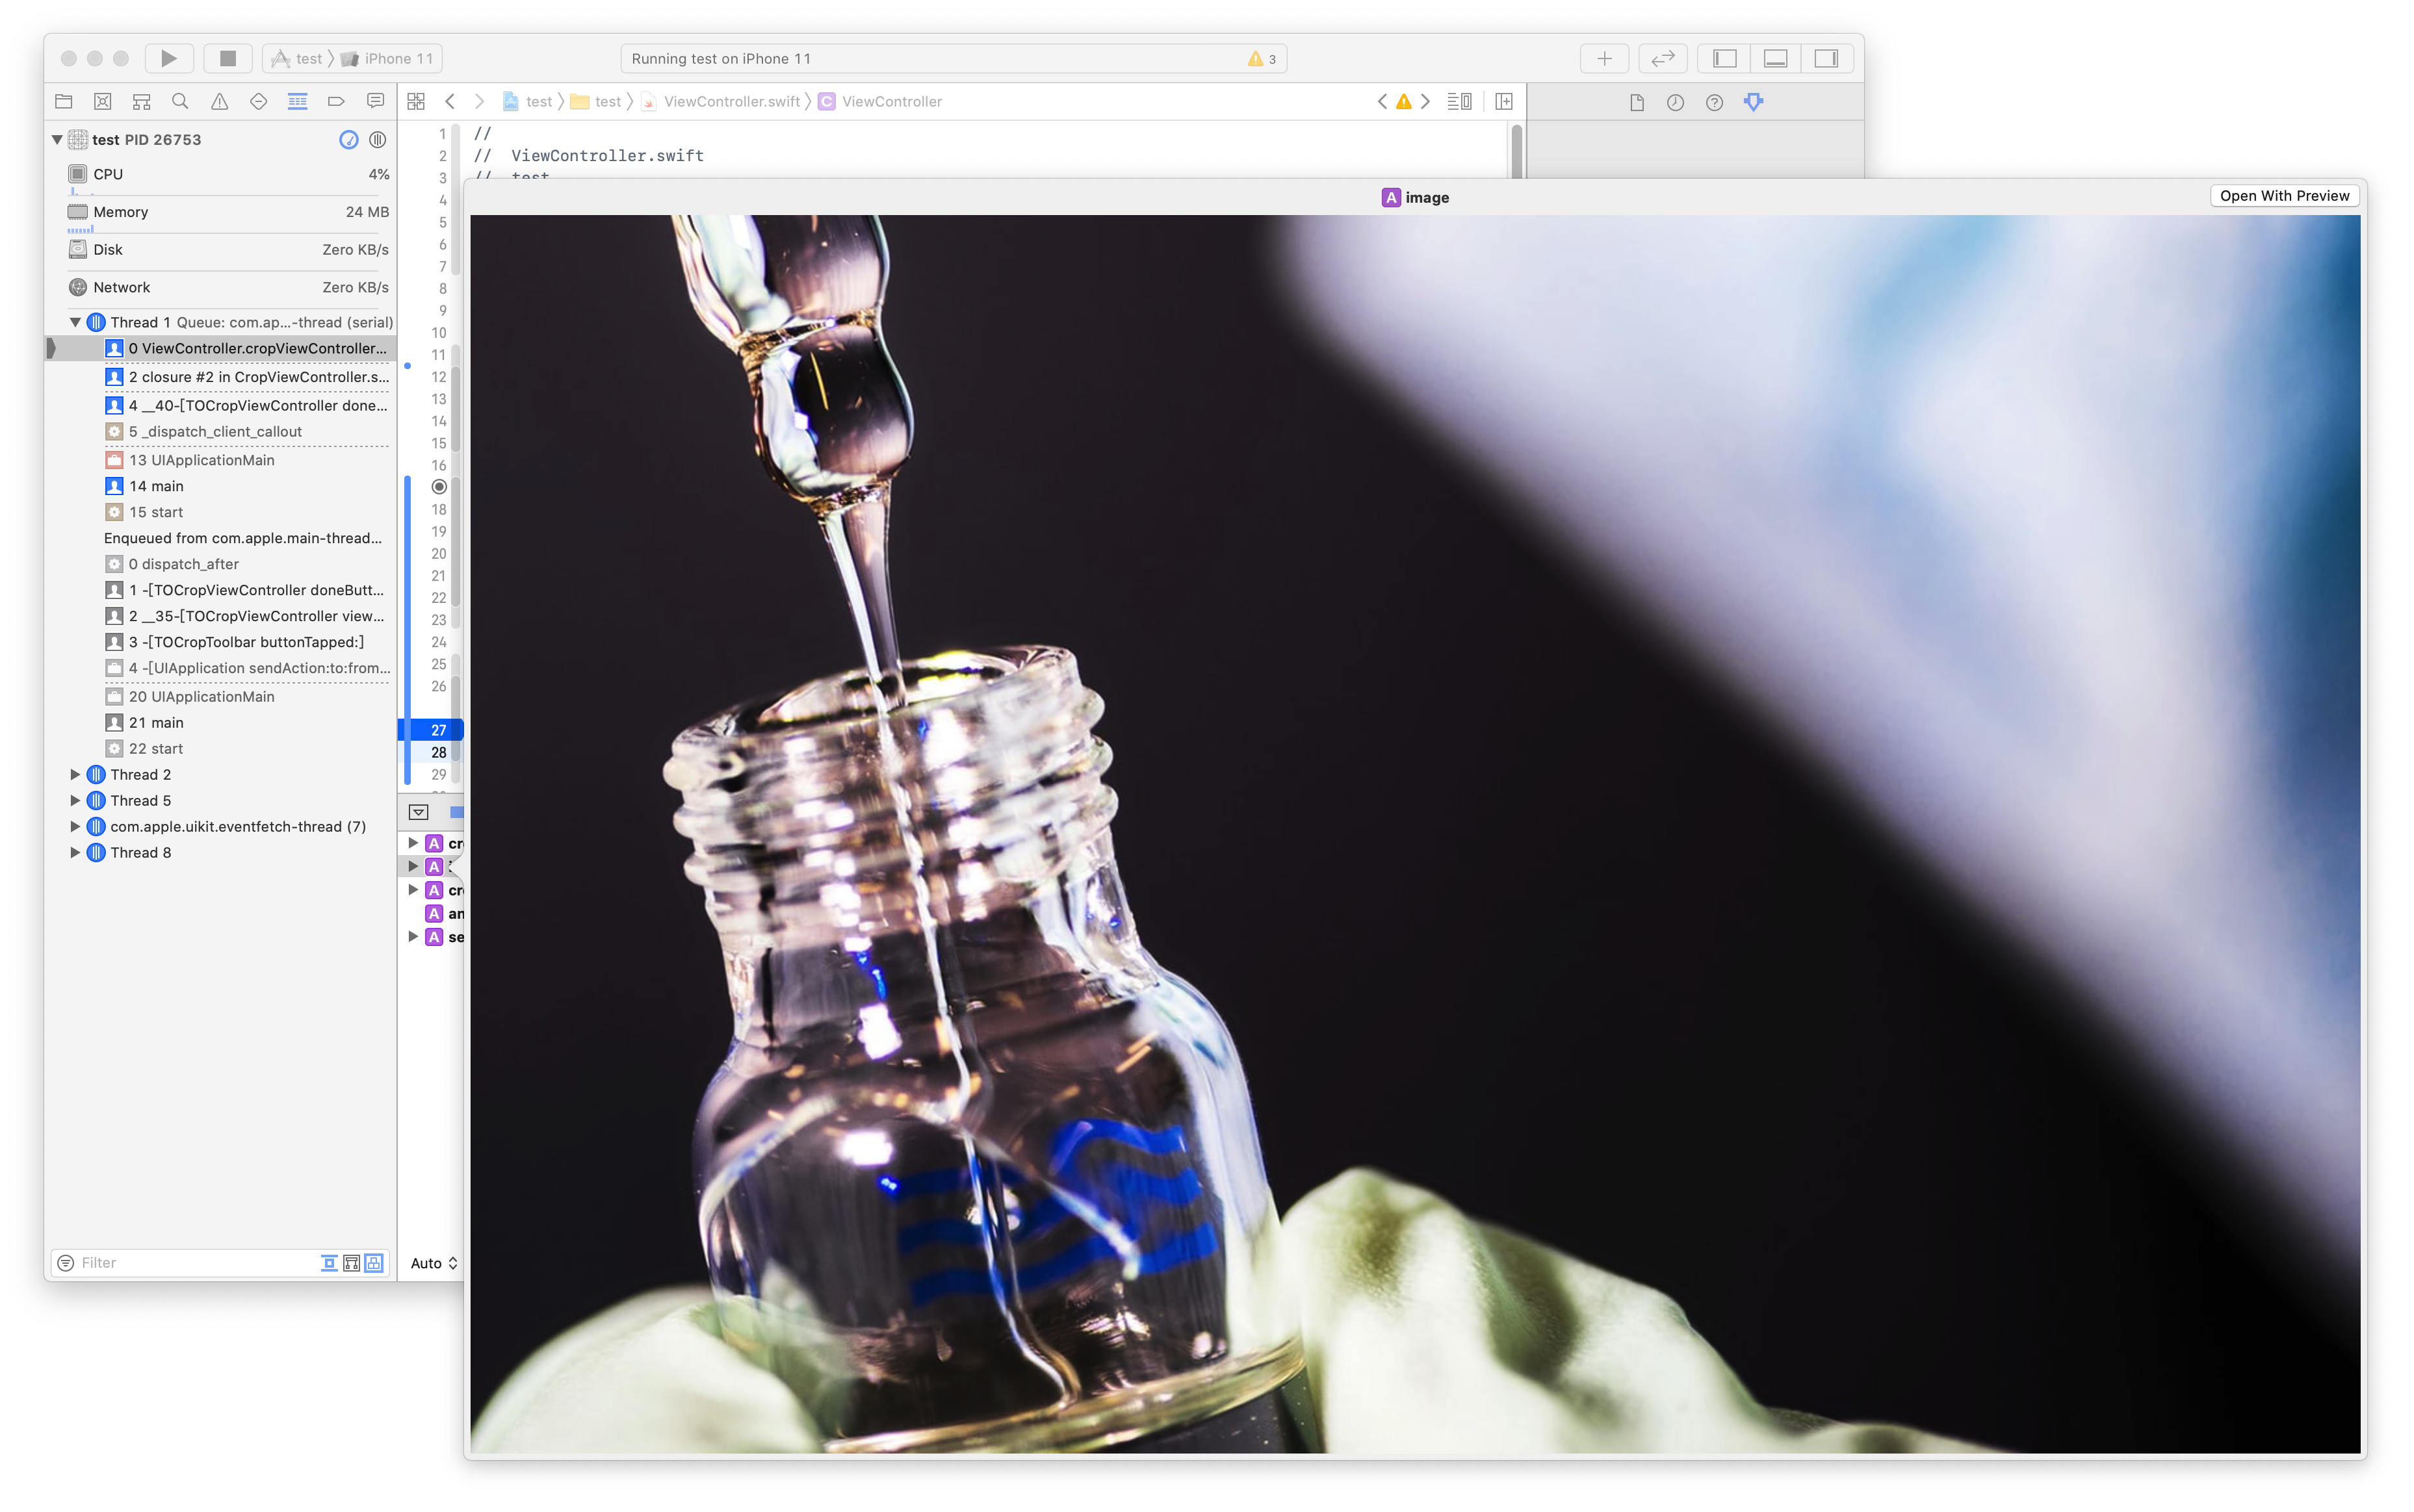
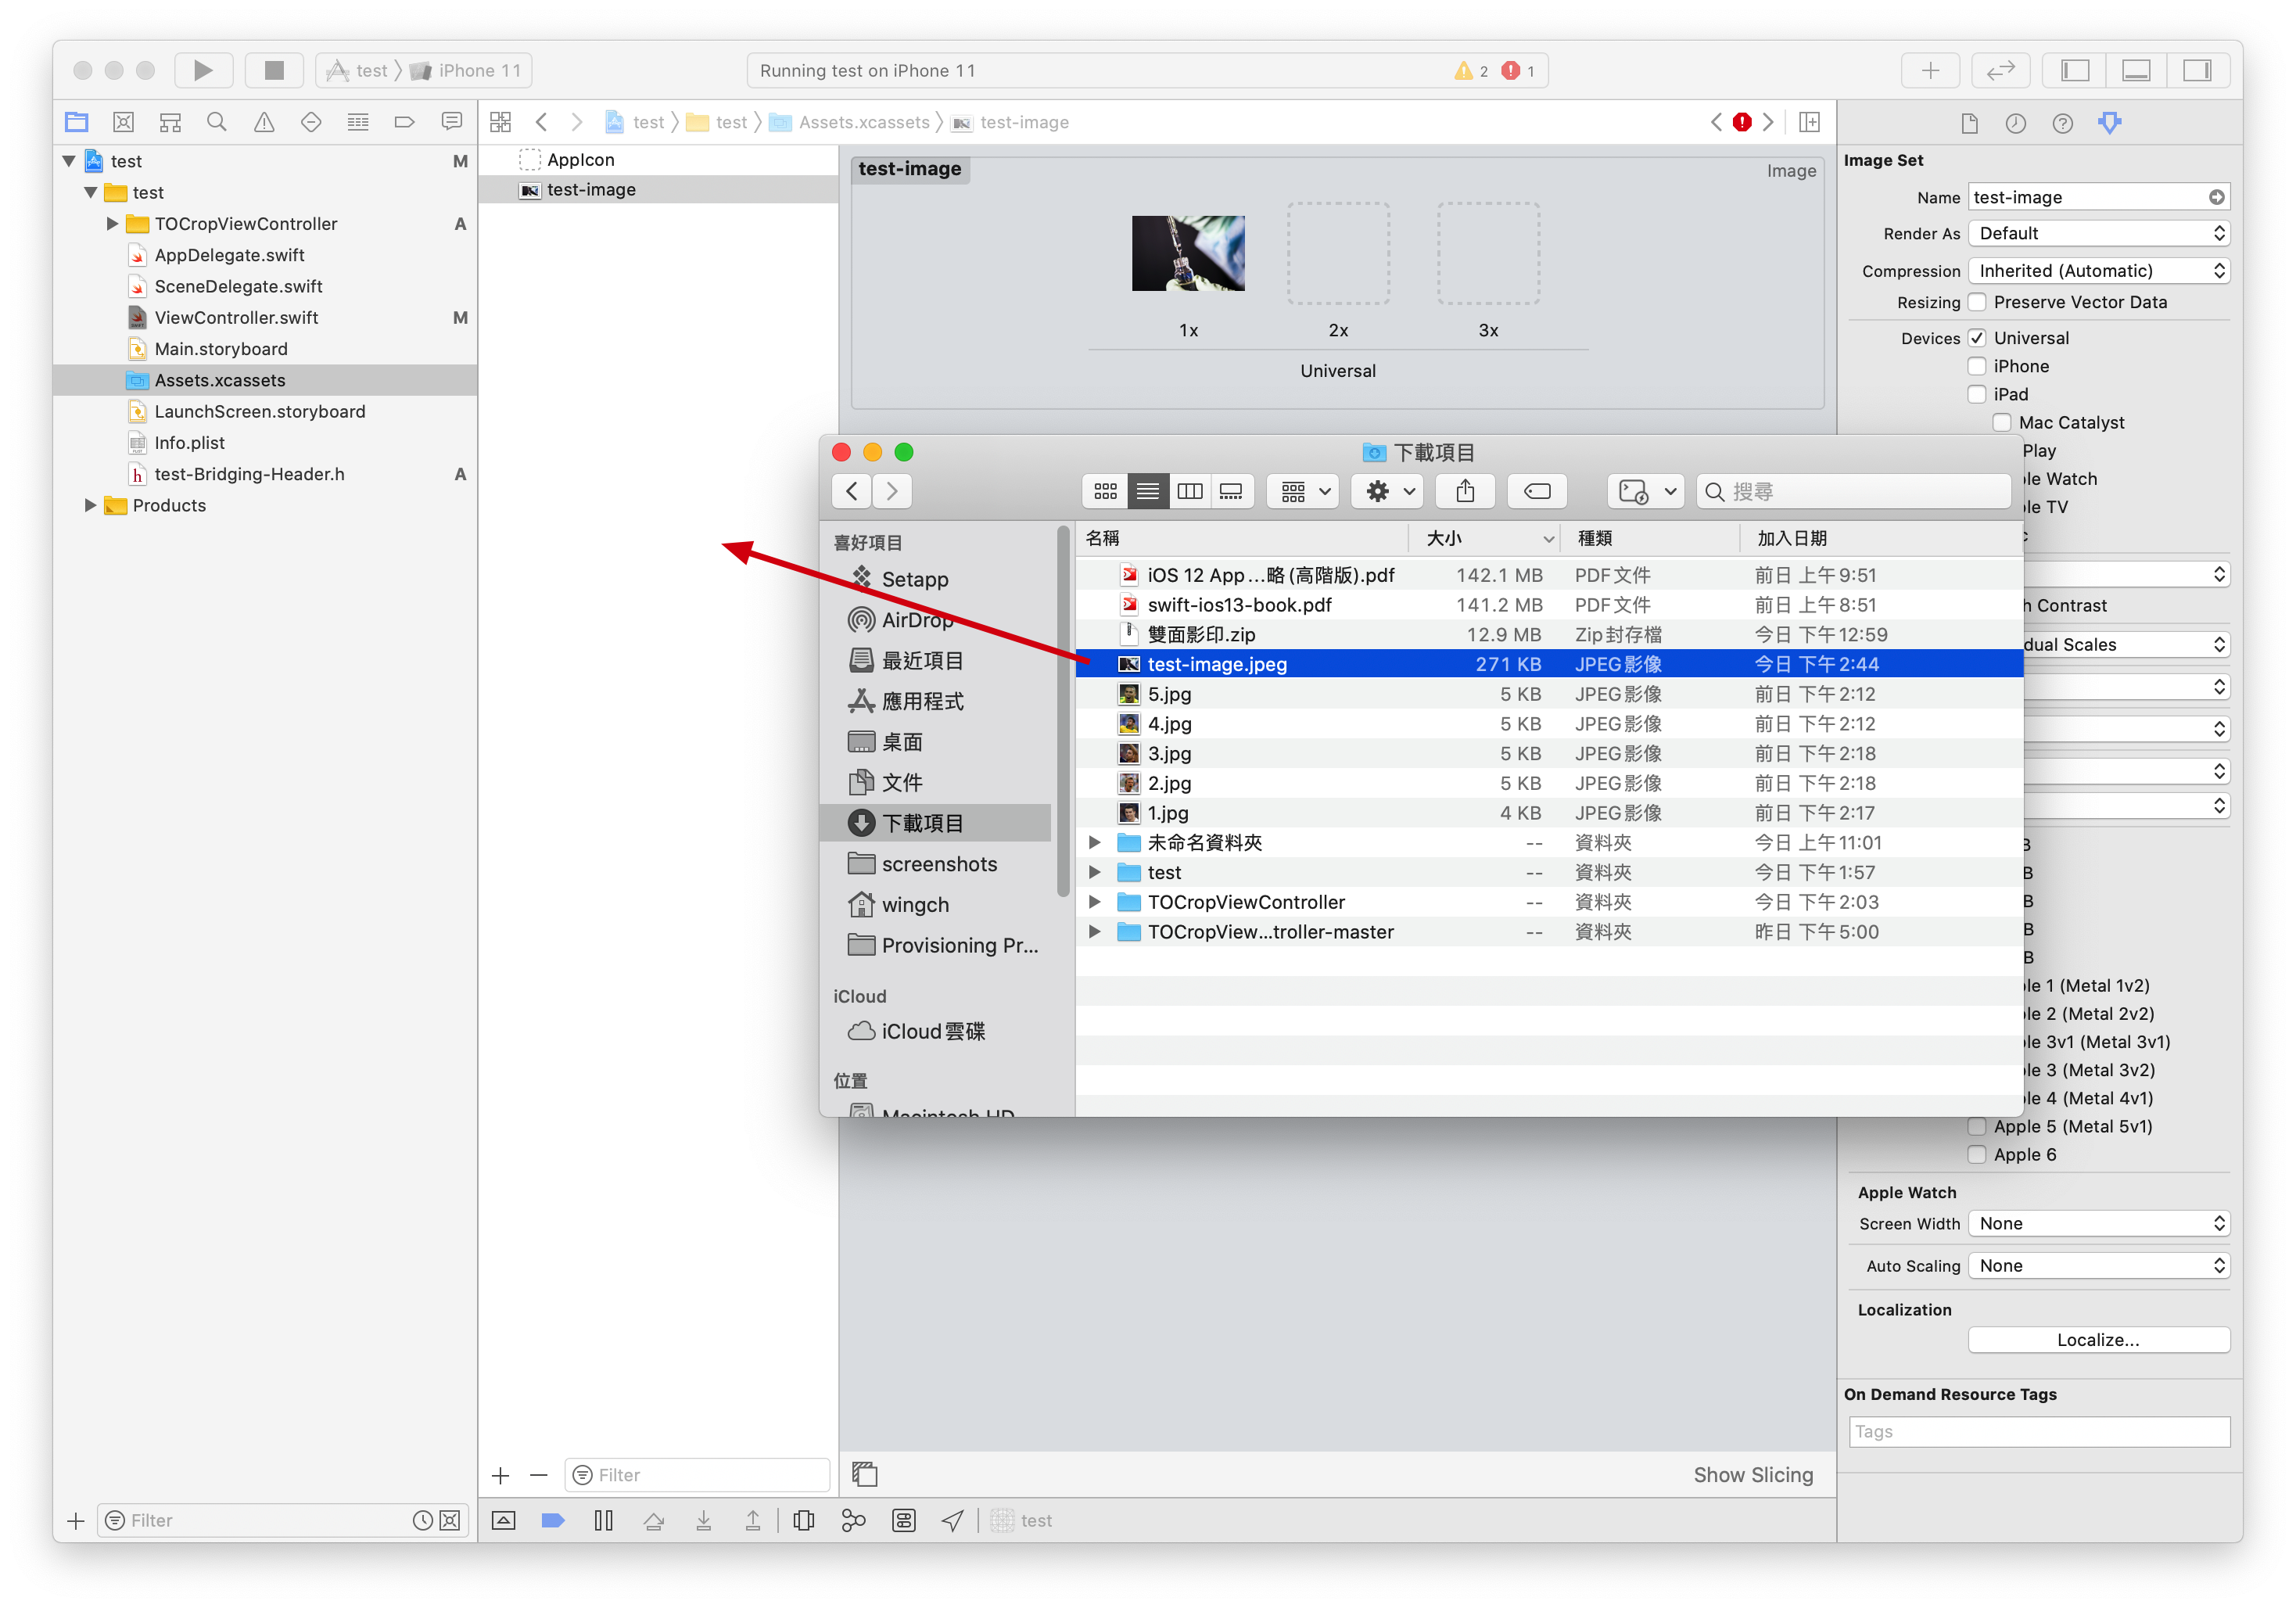
加入一張相片用作測試
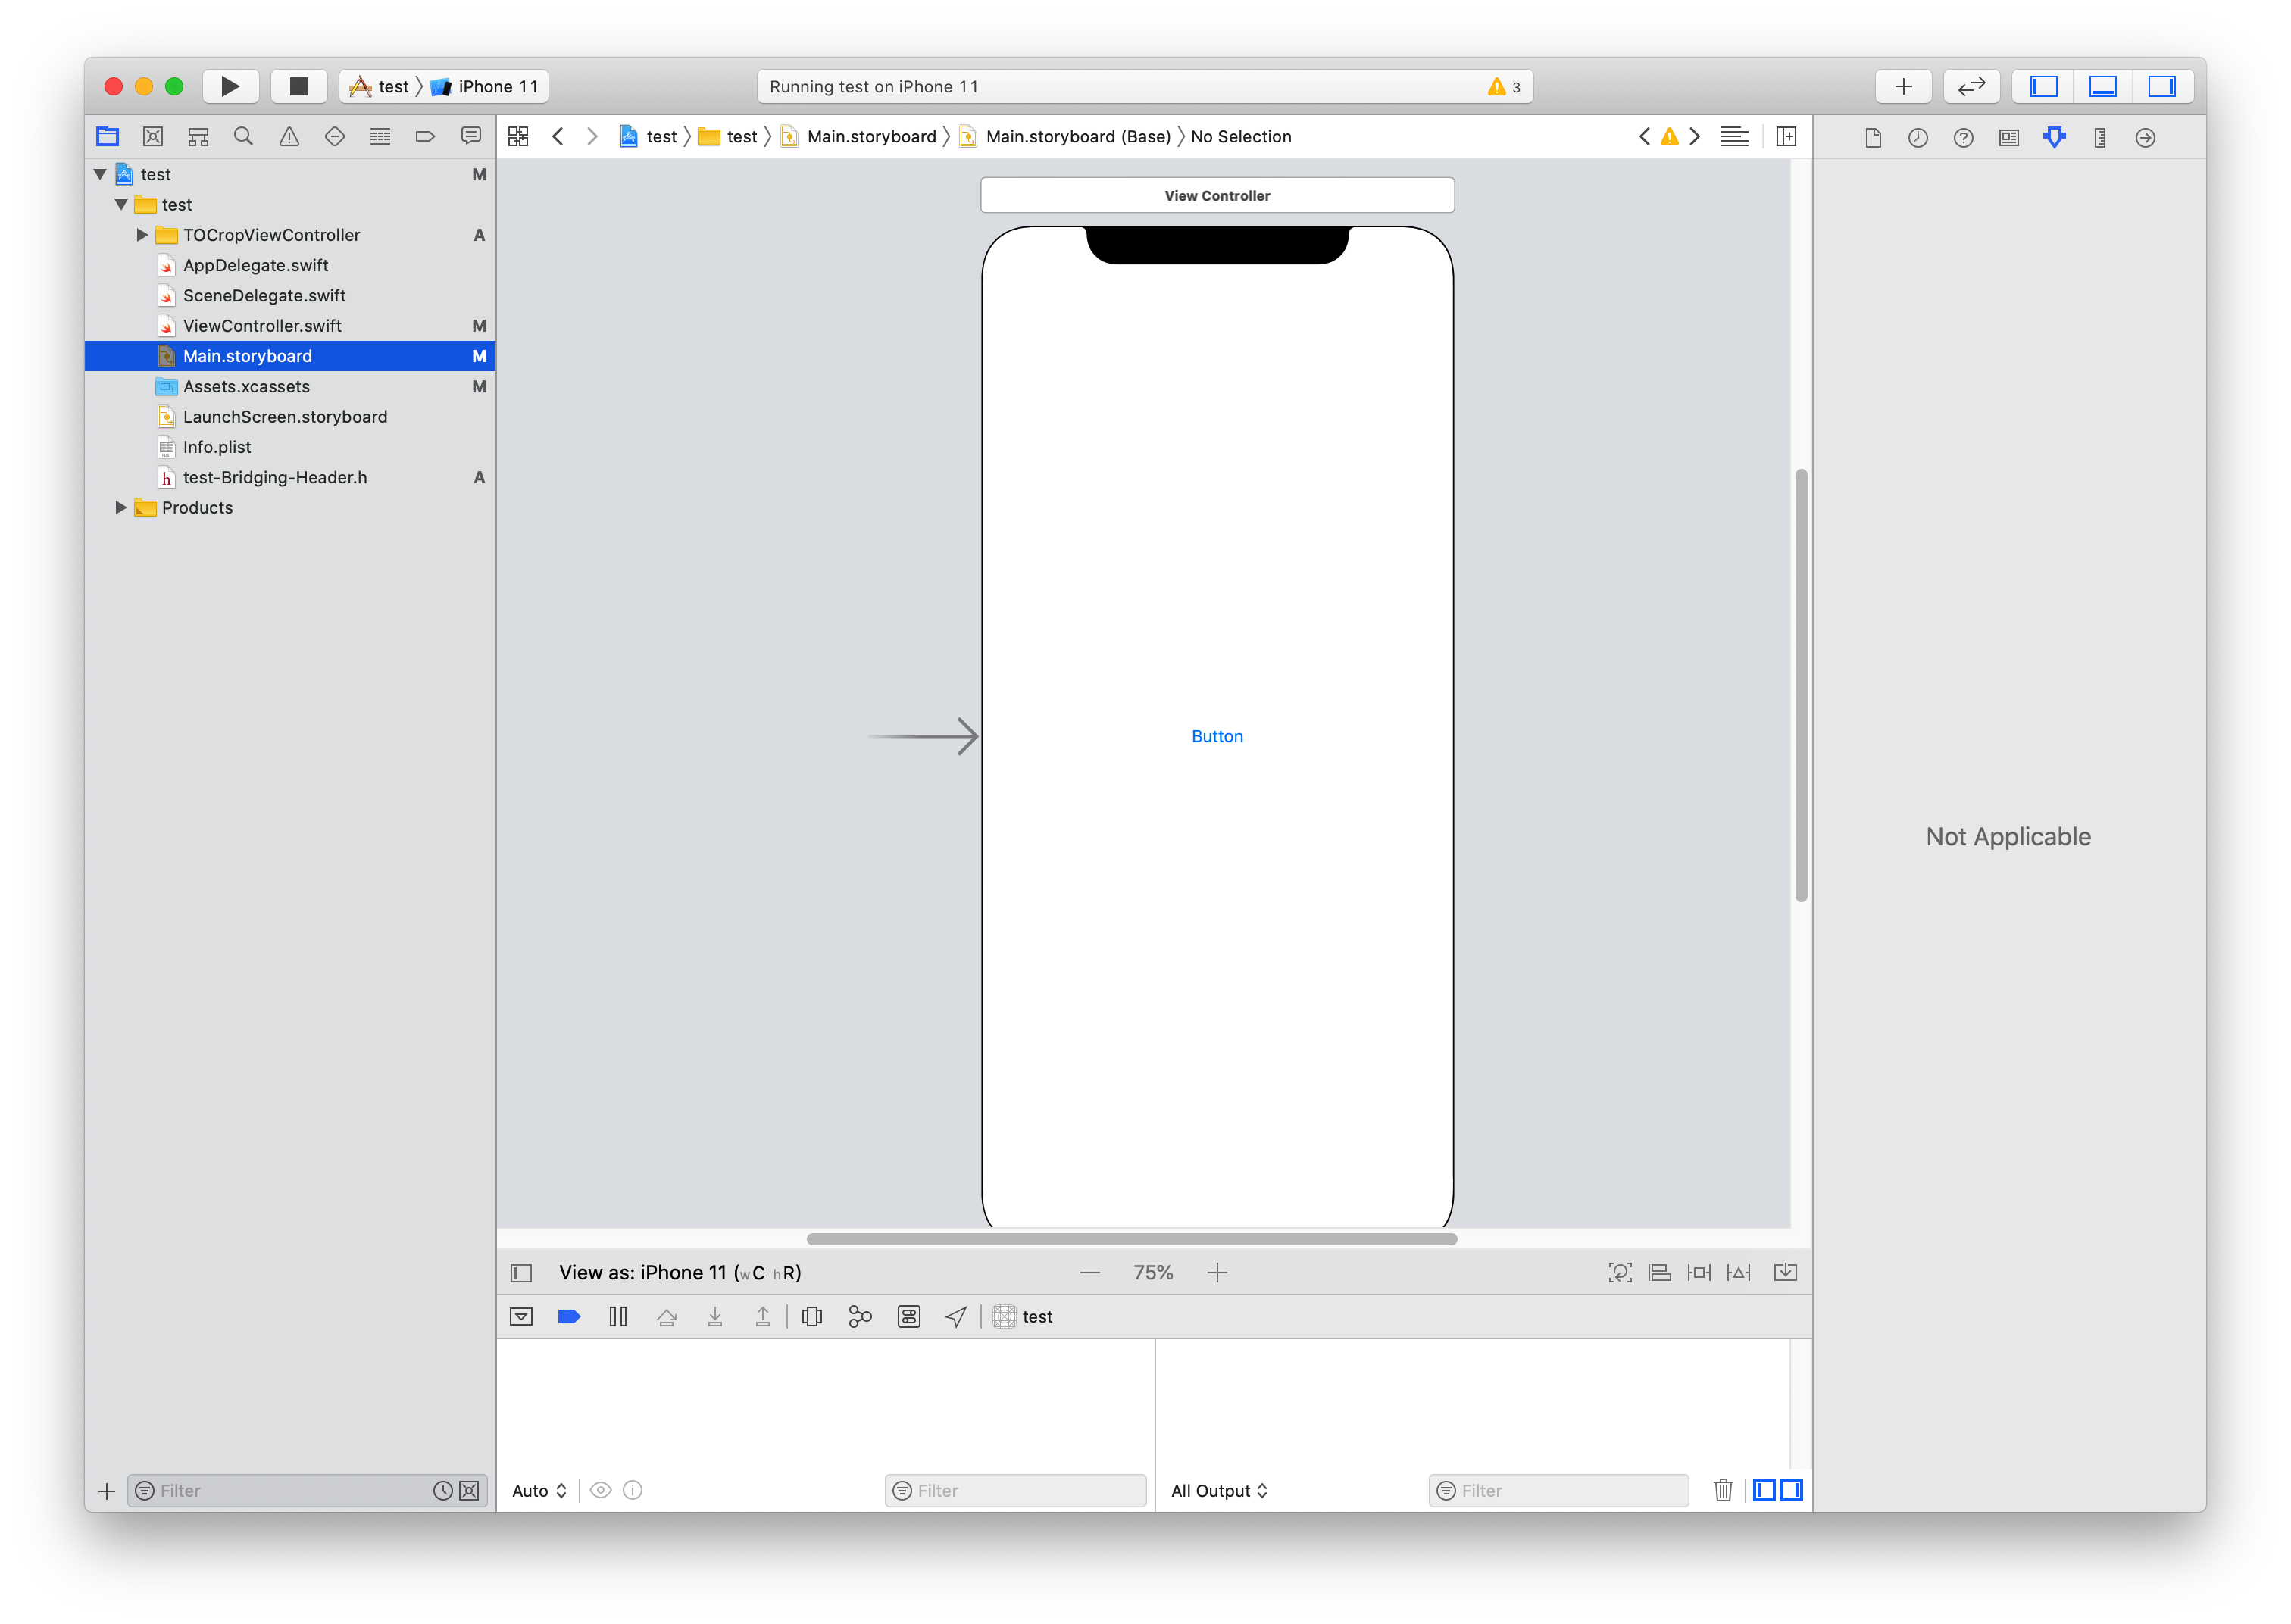
加一個Button
class ViewController: UIViewController {
    override func viewDidLoad() {
        super.viewDidLoad()
        // Do any additional setup after loading the view.
    }

    @IBAction func click(_ sender: Any) {
        let image: UIImage = UIImage(named: "test-image")!
        let cropViewController = CropViewController(image: image)
        cropViewController.delegate = self
        present(cropViewController, animated: true, completion: nil)
    }
}

extension ViewController: CropViewControllerDelegate {
    func cropViewController(_ cropViewController: CropViewController, didCropToImage image: UIImage, withRect cropRect: CGRect, angle: Int) {
        print(image)
    }
}
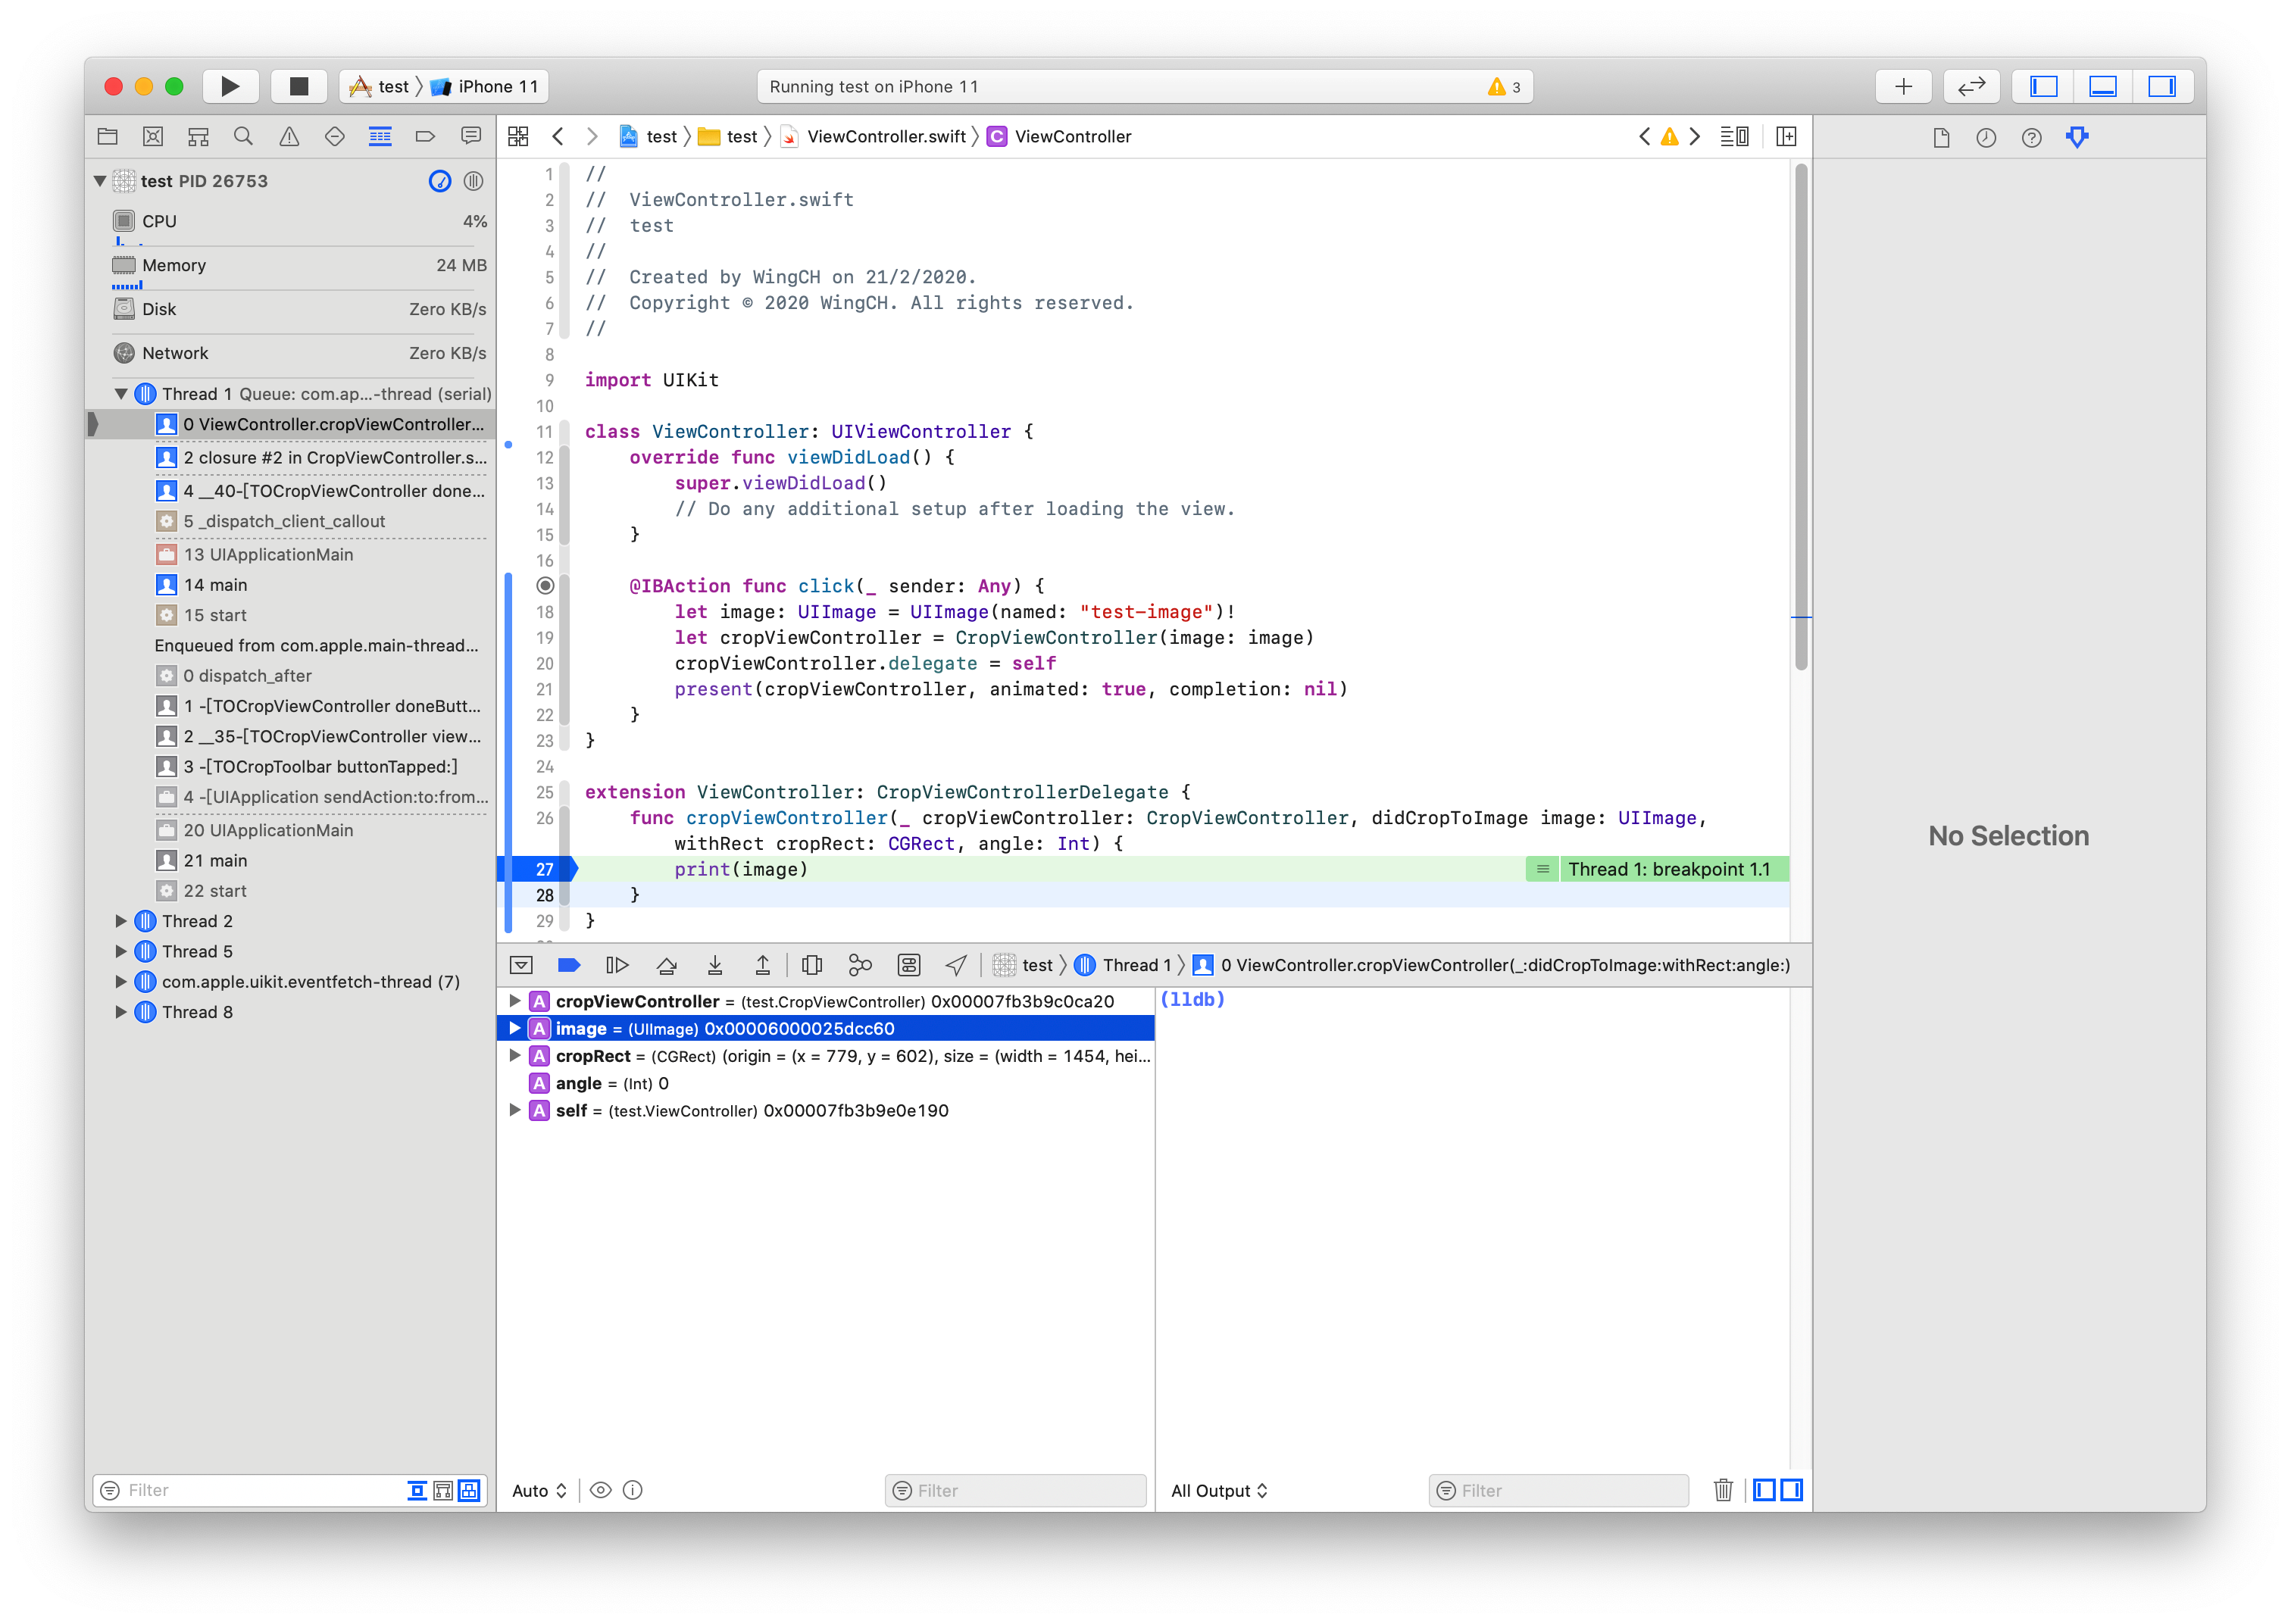
成功取得正確的結果